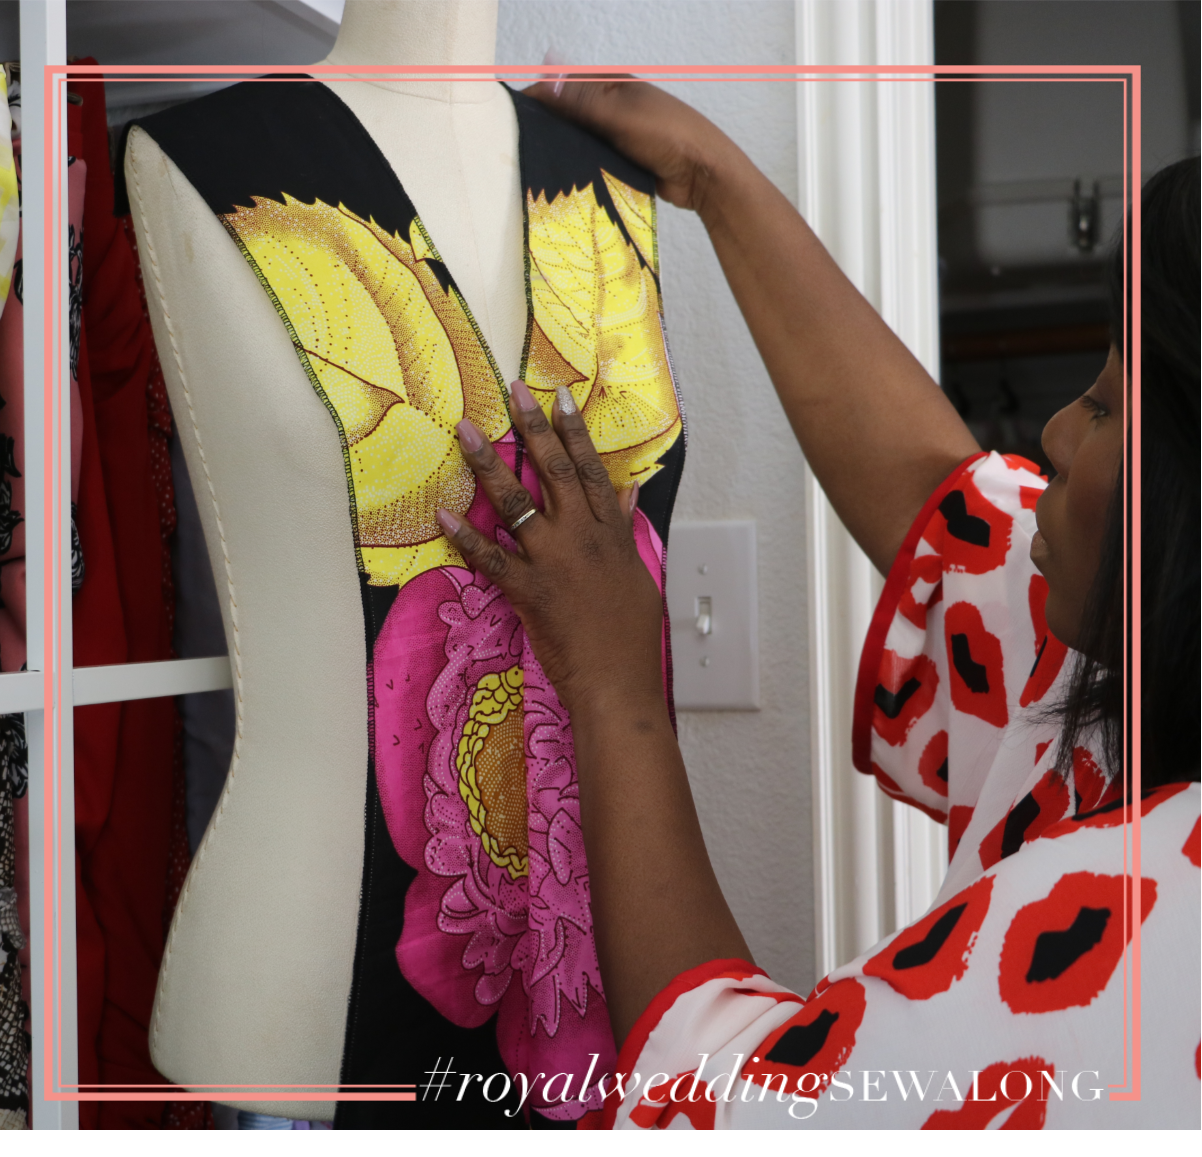
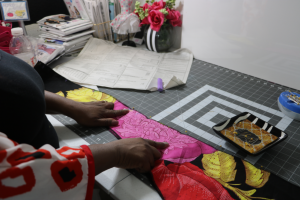
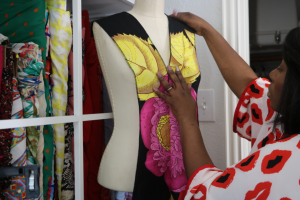
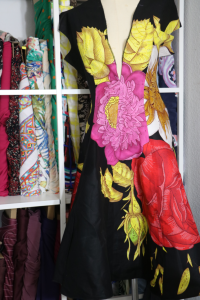
Like I said in my previous posts this fabric took time trying to figure out the placement. Especially with the negative black space and the fact that the Ankara fabric didn’t mirror with the flowers that I am usually accustomed to. However, I made it work and I love how its coming along. You will get sneak peak at the end of the post.
Let’s get right to it.
Here is a pic of my final placement. If I ever do this dress again with a fabric that is similar I will order 2 so that I can make sure I have the right placement.
STEP 1
Fuse interfacing to wrong side of each matching Fabric section.
step 2
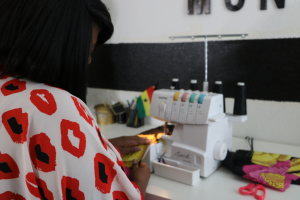
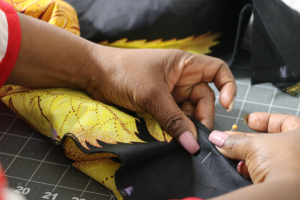
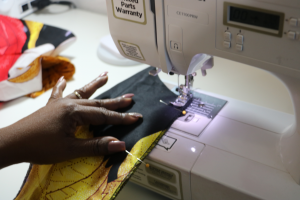
Stitch Front (1) sections together at center front, leaving open above large circle. Before I did this step I went ahead and SERGED all of my pieces first. Make sure when sewing you account for the serging. If you do 5/8 of an inch your garment will be a tad smaller then the size you cut so I suggest sewing at 3/8 of an inch if you serged and took off a little bit of your fabric with the blade. If you didn’t you should be fine. I love serging before sewing as it helps gives the garment a clean finish. When I first got my serger, I would serge after the garment was finished and often time due to certain seams and facings I couldn’t get the serger all the way through. I also ended up serging to much of the fabric and had to cut a new piece. There are certain pieces I do serge after the garment is sewn and also just serge instead of sewing when I have done the pattern before. I typically just use my serger when sewing my linings in my bags. Ok back to the instructions.
Pin then Stitch both front pieces together as shown. Make sure to sew up to the large dot.
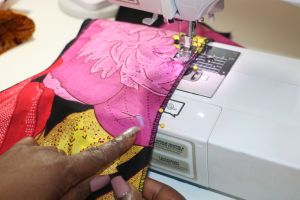
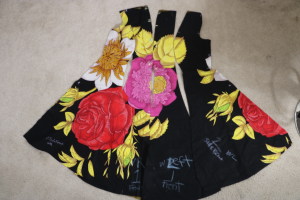
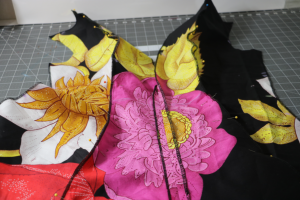
Here is a sneak peak at what it looks like. I love the leaf placements.
Step 3
STAYSTICTH side edges of front above waistline.
step 4
Pin SIDE FRONT (2) sections to front, clipping front where necessary. Baste then stitch. I chose to baste the entire thing to make sure that it all fit and I didn’t have to make adjustments. This fabric has no stretch and my muslin actually had a slight stretch and since I chose to cut this smaller I need to make sure that I can make adjustments. I only had to clip a few areas around the bust.
Make sure to press as you go along!
step 5
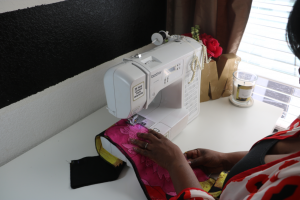
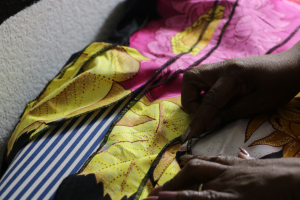
Pin BACK (3) sections together at center back. Baste. Stitch, leaving open above large circle.
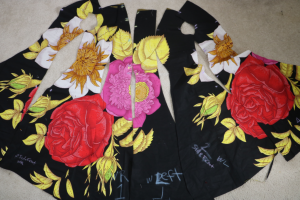
Here’s a sneak peak!
I actually love that fact that it’s not perfectly matched… gives me a story to tell. LOL! See you soon for steps 6 to 13 putting in the zipper and pockets. I am opting for an invisible zipper.
Au revoir
Fabric is from HERE


I’m loving this and i know that pattern placement gave you the blues but i love it
I will have to remember if i decide to do something similar two order 2 of the fabrics
Thank you Anna! Yes, that pattern placement did give me a hard time. But in the end it turned out gorgeous.
I love this
Thank You!!!
Thank you Bernadette!!